Be the Photographer You Want to Be!

If you are ready to learn photography, grow in your photographic skills, be challenged to improve, and have a lot of fun and create some great images of your own, you have come to the right place!

  1. Start here by learning the fundamentals of photography in my Photography 101 Workshop!
  2. Be challenged to grow further with this special program for 6 select photographers in a 6 month program I call my ‘6×6 Photography Workshop‘.  You’ll be creating some amazing images in this class!

  3. Learn how to more effectively do photography with my Electronic Flash/Speedlight Clinic!

    – 
  4. Experience the ultimate photographic adventure on our Summer or Fall Rocky Mountain Photography Workshops in 2018!

    –  
  5. Remember I also offer private instruction in almost every topic of photography! I am anxious to help you become the photographer you’ve always wanted to be!

    – 
  6. My new book ‘30 Practical Tips for Better Photographs‘ is now available on Amazon!

    If you own a Digital SLR (DSLR) or a Mirrorless Interchangeable Lens Camera (MILC), this book was written for you!  I lead you through the 30 most important things you need to know to effectively use your camera to achieve consistently better photographs.
Share

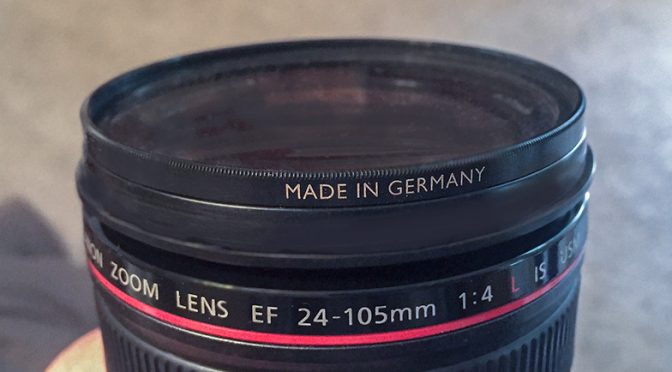
Sometimes A Filter Might Get Stuck on Your Lens!

If you use filters on your lenses such as UV Haze Filters, ND Filters, Polarizers, etc., you might occasionally discover your filter simply will NOT come off!

I have known many photographers who have encountered this problem, and it never seems to happen at a convenient time.

No matter how much you try, the filter just won’t budge and you now are stuck with a filter mounted on your lens whether you want it or not. This is an especially bad circumstance if the filter that is stuck is a 9 stop ND filter because it would render your lens almost useless until you remove it.

Sometimes the problem is you may have just screwed the filter on too tightly, or some cheaper filters might bend easily and bind and get stuck. Or if you drop your camera, you may find the filter just won’t come off. Or the problem might be slight corrosion or dirt. Or the problem might be that you did not have the filter on straight and damaged the threads.

If you want a tool to remove a stuck filter, there are a variety of different tools out there that can help! I thought I should mention that, just in case you weren’t aware!


There are other brands. I just thought I would show a few.

Sometimes, a jar lid remover can help remove a stuck filter!

Share

Photography Volunteer Opportunity – Texas Mamma Jamma Ride

Hey photographers! Here is a great opportunity to help people in our local community facing breast cancer.

Texas Mamma Jamma Ride Sept 23, 2017 in Austin, TX
http://www.mammajammaride.org

Two ways you can support:
1) MAKE A GENEROUS DONATION
2) PHOTOGRAPHY: they need photographers, Sept 23
6:30am – 4pm

If you can help with photography, contact:
Marion Martin at marion@mammajammaride.org
(and let me know that you volunteered)

Share

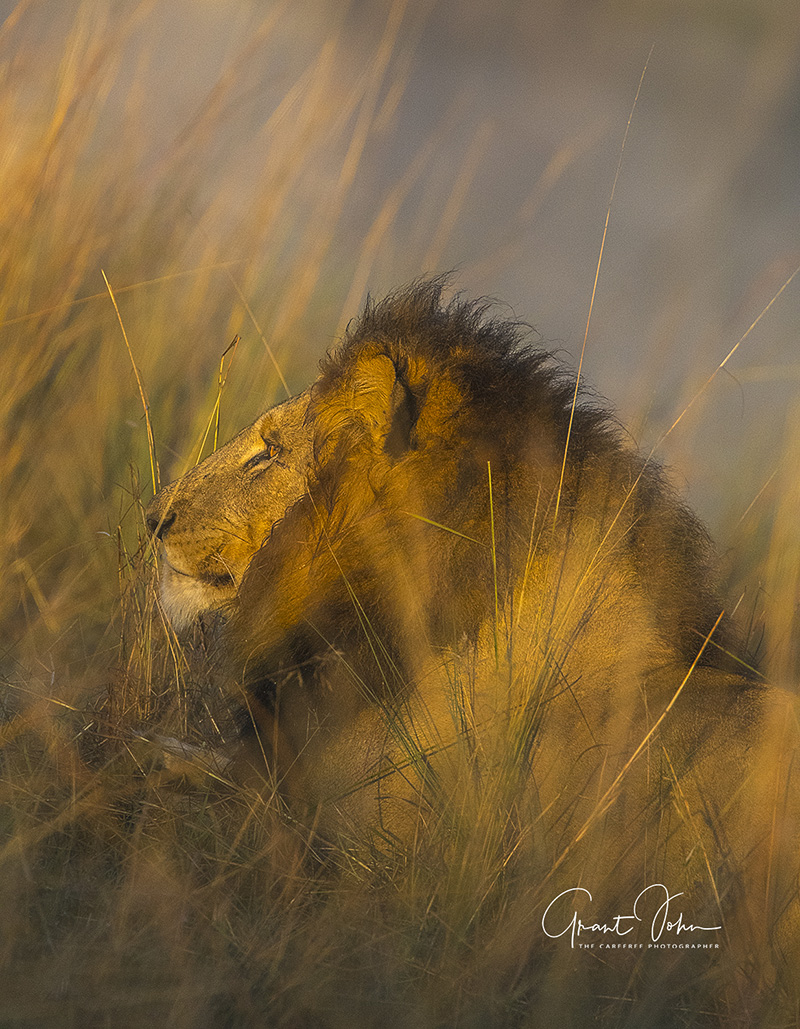
Featured Photographer: Grant John

In our Featured Photographer series, we highlight the work of our former and current students!

Your Name: Grant John
Alias: The Carefree Photographer (www.carefreephotographer.blogspot.com), also on FB

Type of Camera:  Nikon D750 and Nikon D500

What do you love to photograph the most?  All forms of wildlife, including birds. We have been to Botswana three times in recent years, as well as Alaska and Costa Rica. I also enjoy landscape photography, having lived in Arizona for several years.

What is one thing you have learned that has improved your photography?   Light!!! Learn to shoot early and late in the day, and get in the best positions to optimize the light.

Advice you’d give to others wanting to grow in their photography skills:   I was fortunate in Arizona to be part of a great photography group that met monthly to critique images of specific subjects, and also did frequent group phot shoots. The experience gained from others was invaluable. So my advice is to join with others who share your love of photography.

Share

Just Had to Say Thank You – Hurricane Harvey Recovery

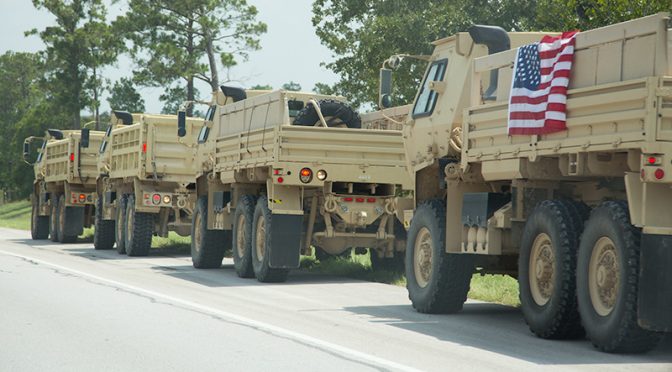
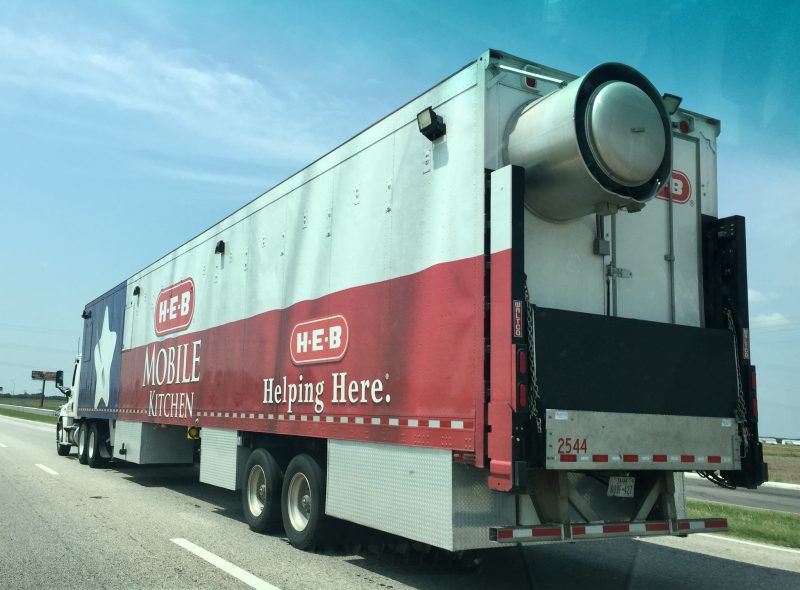
We headed down to Houston yesterday.  Along the drive, we passed numerous vehicles on their way to render aid in the recovery from Hurricane Harvey.

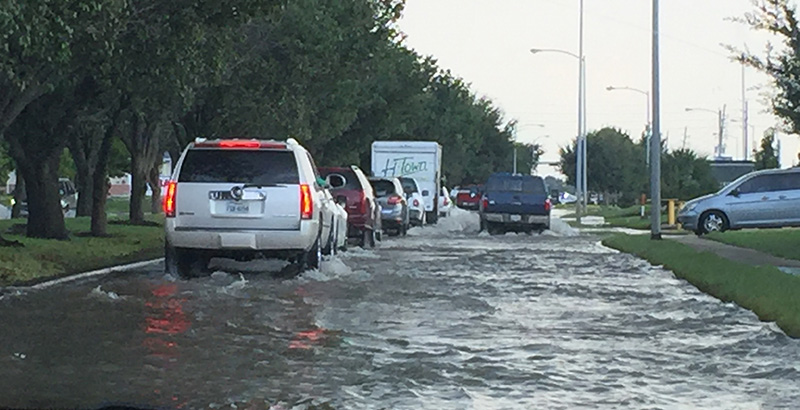
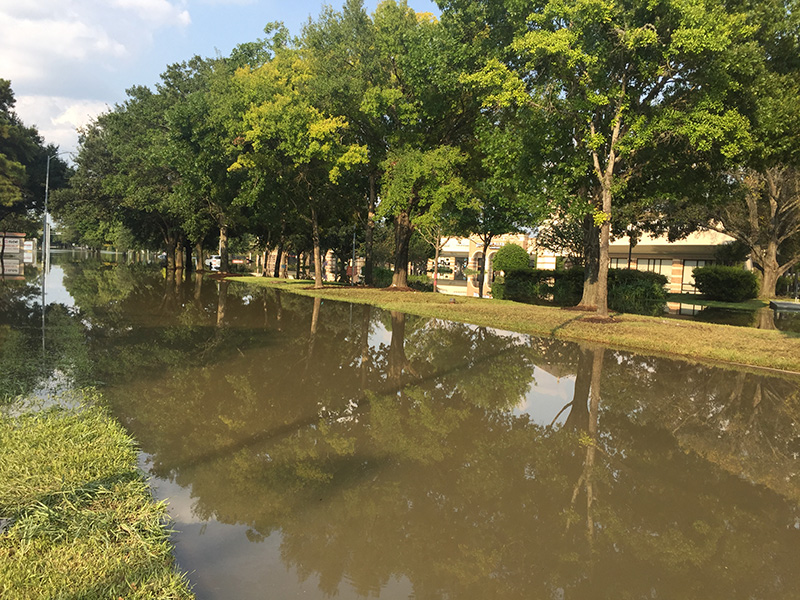
It’s really strange here in Houston.  There are the portions that were not flooded that were pretty much not impacted at all, other than perhaps a power or phone or Internet outage.  Then just a few blocks away are homes totally flooded. Some stores are open while others are closed. Even if the store was not damaged by the storm, the employees may have homes that were devastated.

It will take a long time to clean up from this disaster, and Houston will never quite be the same.

As we passed all those vehicles along the highway to help Houston recover from the disaster, I just had to say thank you.


Dealing with Water Damage Photos?

Share

Dealing with Water Damaged Photographs

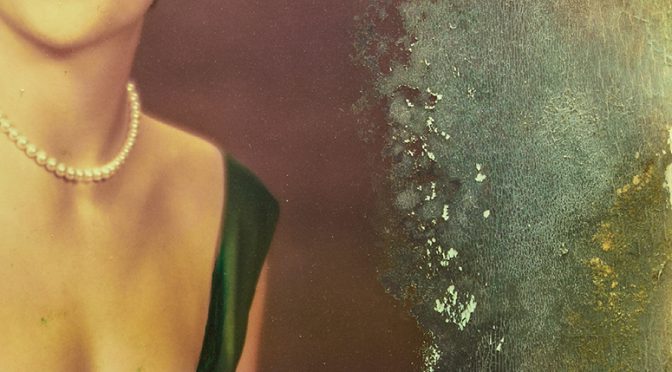
When we experience a flood, so many of our personal items are damaged. The whole experience can be quite overwhelming. Keep in mind that even though many of our “things” can be replaced, our photographs can be severely damaged by water, mud, etc. and not so easily replaced.

If your have water damaged photographs, I encourage you to deal with the damage as soon as possible. Especially if you have a stack of photographs that are all wet, you must take action quickly.   If you let them dry, the process of separating the images can be quite tedious and permanent damage is much more likely.

How you deal with water damaged photographs depends on how the print was made.  If the photograph was made using the traditional photographic process, it was originally developed in water-based chemicals and you can use water to rinse and clean and possibly separate the photographs. If the photograph was printed by inkjet or other type of computer printer, the paper used may be damaged by water way more quickly, so especially be careful.

If you are unsure whether rinsing with water might damage the print further.  Try putting a little water on just one of the prints and test it first.

The first step is to carefully try to remove as much dirt as possible. Then use care to gently flow water over the prints to clean them.  What type of water should you use?  Some folks say tap water.  Others say you should use distilled water.  Either way, it is safer if you use cool water (not hot water).

Use extreme care to not damage the emulsion on the prints.  If it is stack of photographic prints stuck together, you can soak them and then attempt to ever-so-gently peel them apart, starting with the photo on top.  Once the photographs are rinsed, cleaned, and separated, then lay them out to air dry separately.  Having air flowing over the top and bottom is best. (Idea: you could use a non-metal window screen to lay them on).

This is such a tedious process. Use caution, and before you try to do this yourself, I would highly recommend you read some of these great articles posted on the web by these authorities on the subject:

I do photograph restoration as part of my business, by creating a digital master copy of the damaged photograph and then use software to “repair” the damage and make a new print.   Digital repair may be the only option to really fix the photograph once it has been damaged. Before you resort to this, though, at least take every effort to deal with the water damaged photographs as soon as possible so you can minimize the long term damage.

Our photographs mean so much to us. When our homes are flooded, we can sometimes repair the home, or buy new furniture, but we can’t buy new photographs.

If your home was flooded, I hope your photographs survived!

Share

Featured Photographer: Nancy Wessels

In our Featured Photographer series, we highlight the work of our former and current students!

Your Name: Nancy Wessels

Type of Camera: Olympus OM‑D E‑M1

What do you love to photograph the most?
I have been a photographer for over 20 years. I recently traded in my heavy Canon camera for an Olympus OM‑D E‑M1. I love the image quality that I get shooting with this camera and it’s not a burden to carry when traveling or walking for long periods of time. My favorite things to photograph are landscape and wildlife. I like taking some architectural images as well.

Advice you’d give to others wanting to grow in their photography skills:
My advice to anyone wanting to grow in their photography skills is to just keep shooting. Take pictures as often as possible and keep practicing. Whatever you like to take photographs of, step outside your comfort zone and practice on a new genre. I’ve been trying to do that myself and practice taking more pictures of people.

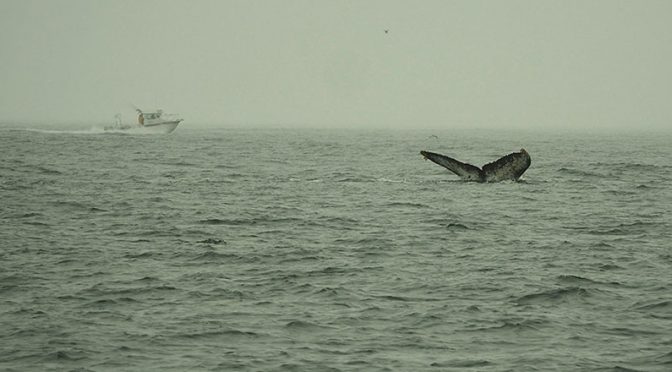
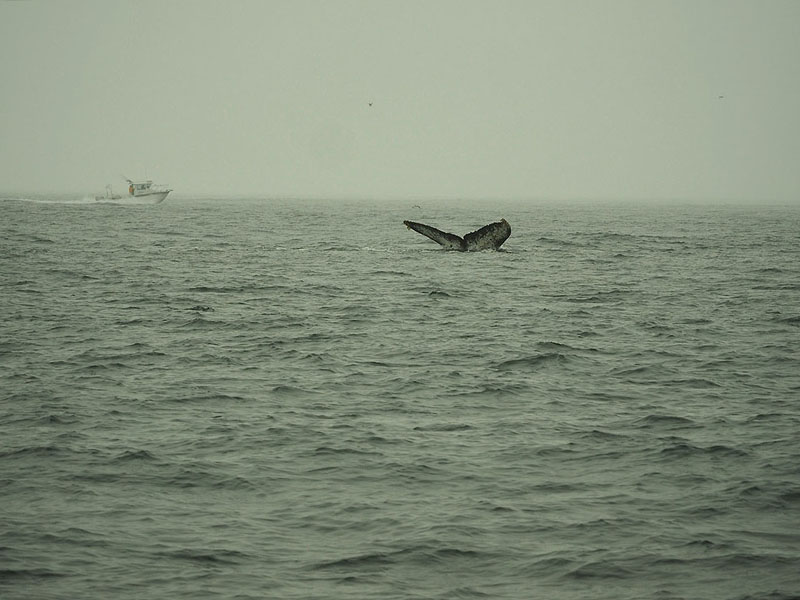
As usual, it was difficult to choose just one image. I am proud of this image mainly because I fret so much about whether or not my settings are correct on my camera, I often miss photo ops. I took my daughter to San Francisco in the spring and took her sailing for the first time. We were lucky enough to see a whale while we were on the water and I was able to capture it. It was very cold, windy and foggy once we got outside the bay and near the Marin Headlands. The colors in the image are very muted because of the weather that day. I have been to San Francisco many times and have been on whale watching trips as well but this was the first time that I was able to witness one of these beautiful creatures in person.

Share

6 Photographers, 6 Projects – A New Learning Opportunity

This class is now OPEN FOR REGISTRATION!

Limited to only 6 students!

CLICK HERE FOR MORE INFORMATION AND TO SIGN UP!

I am calling this the
‘6×6 Photography Workshop’

I am offering a unique opportunity for 6  select photographers to participate in this program where we meet to work on a different photographic project each month for 6 months.

Once we have 6 definite students, I will add the class.

  • The projects will be very hands-on learning opportunities with a mix of teaching and doing at my studio in NW Austin.
  • I am intentionally designing this as a very small group experience to maximize your ability to learn and create great images
  • I will provide professional models for some of our activities as well as the studio, studio lighting etc.
  • Class is for DSLR (Digital SLR) and MILC (Mirrorless Interchangeable Lens Cameras)
  • We’ll meet once a month, on a weekday evening.
  • You will create your own great images
  • Have a lot of fun
  • Projects will vary each month focusing on a mix of different topics
    • Beautiful studio lighting / Glamour / Dramatic lighting
    • Jewelry Photography
    • Light painting
    • Creative techniques
    • Water droplet magic
    • High shutter speed fun
    • Composite portraiture
  • The price will be only $99 per session when you commit to the 6 sessions.

Who can participate?

It depends on your current photographic knowledge. You must apply to be considered for this program. If I determine your knowledge level isn’t quite a fit for this yet, I might refer you to one of my other classes first. But don’t be discouraged. I want to help you learn! So if you are interested, complete this form and we’ll talk about it.


Share

Featured Photographer: Amy Tomlinson Gayle

In our Featured Photographer series, we highlight the work of our former and current students!

Your Name: Amy Tomlinson Gayle

Type of Camera: Canon EOS 1-D X Mark II. Also love tinkering with iPhone pics… not ashamed to admit!

What do you love to photograph the most?
People/animals that I love. I think love somehow comes through the lens.

What is one thing you have learned that has improved your photography?   That taking photographs is a downright spiritual practice. It’s living in the moment. There is no way you can’t be fully immersed in the moment while taking a good photo. Slow down. Breathe. Snap.

Advice you’d give to others wanting to grow in their photography skills:  If you ever have a chance to take photos on film and develop them in a darkroom, DO IT! My high school in Indiana had a photography program and a dark room (AMAZING, I know…). And it taught me two things, as a teen photographer: (1) Delayed pleasure. Taking photos and having to wait a week to see what was on my roll. (2) Having one chance to get a photo right. Without being able to tweak it post-processing, via Lightroom or Instagram. I never forgot those things. I still have an instinct to make sure to get the photo right in just one take.

Share

Featured Photographer: Shanekia Cole

In our Featured Photographer series, we highlight the work of our former and current students!

Your Name: Shanekia Cole

Type of Camera: Nikon D5300

What do you love to photograph the most?
People and nature.

What is one thing you have learned that has improved your photography?   Understanding the settings  of my camera and how they work together

Advice you’d give to others wanting to grow in their photography skills:  Out of 100 shots you may get 10 that are what you were aiming for but you may get one that blows your mind that you didn’t know you could capture! Take advantage of opportunities to learn from people with different styles because there a lot of great ‘tricks’ out there. Definitely practice with different types of lighting (including natural) to see what you may like the most.

Share

Kevin Gourley Photography Workshops, Austin, TX – Austin Photography Classes